
I had so much fun today making this Dashing Deer Card today.

Here's the details on how I made this beautiful card.
- Create a 5 1/2" x 4 1/4"card base using Stampin' Up! Whisper White card stock and the Stampin' Up! Trimmer. Score down the middle.
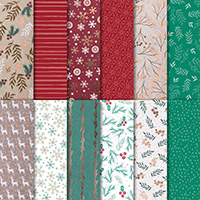
- Cut a piece of Joyous Noel Specialty Designer Series 12 x 12 Paper (Page 29) to 5 1/4' x 4" using the paper trimmer for the background mat.
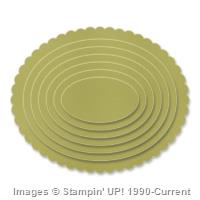
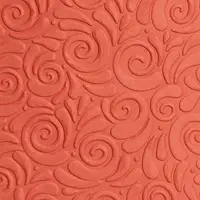
- Cut out an oval using the Ovals Collection Framelits and Whisper White card stock.
- Then place the oval into the Swirls & Curls Textured Impressions Embossing folder (Page 5) and run it through the Big Shot.
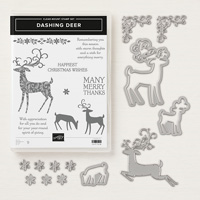
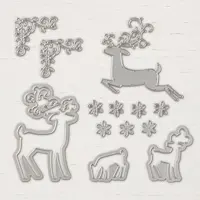
- Cut out the deer and flower using the Detailed Deer Thinlits Dies (Page 9) and a piece of Joyous Noel Glimmer Paper (Page 29).
- Cut out the greenery piece using the Detailed Deer Thinlits Dies (Page 9) and a piece of Tranquil Tide card stock.
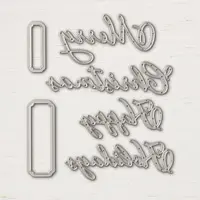
- Cut out the tag using the Merry Christmas Thinlits Dies(Page 5) and a piece of Whisper White card stock.
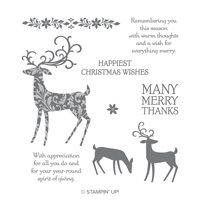
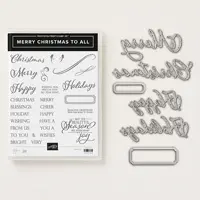
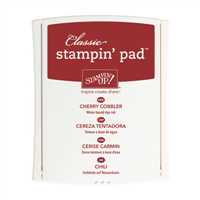
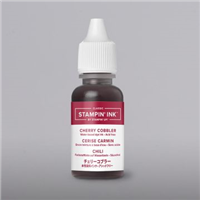
- Stamp the tag using the "Happiest Christmas Wishes" stamp from the Dashing Deer Clear-Mount Stamp Set (Page 5) using the Cherry Cobbler Classic Ink Pad.
- Adhere the layers onto the card using Snail Adhesive or Multipurpose Liquid Glue and Stampin' Dimensionals for the tag.


Laura Morris
Independent Stampin' Up! Demonstrator
www.borntoscrapbook.blogspot.com


No comments:
Post a Comment