Stampin' Up! Dashing Deer and Joyous Noel Sneak Peek.
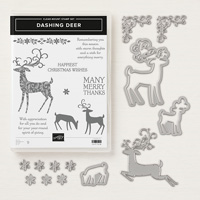
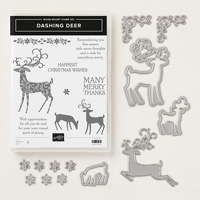
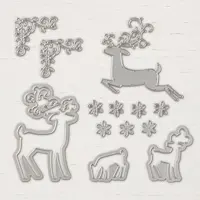
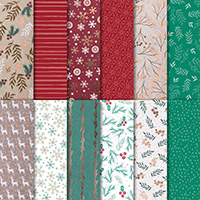
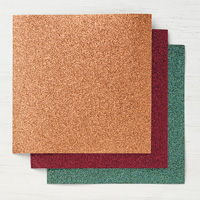
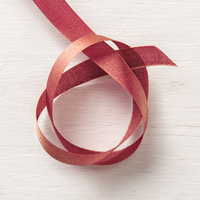
Today I'm bringing you another sneak peek from the 2018 Holiday Catalog - all of which will be available to customers on September 5th. This little darling uses the Dashing Deer Bundle with the Dashing Deer stamp set and Detailed Thinlits (Page 9) along with the Joyous Noel Specialty Designer Series Paper, Joyous Noel Glimmer Paper and Merry Merlot & Copper Ribbon (Page 29).
Today I'm bringing you another sneak peek from the 2018 Holiday Catalog - all of which will be available to customers on September 5th. This little darling uses the Dashing Deer Bundle with the Dashing Deer stamp set and Detailed Thinlits (Page 9) along with the Joyous Noel Specialty Designer Series Paper, Joyous Noel Glimmer Paper and Merry Merlot & Copper Ribbon (Page 29).
Here are the ingredients.
I started with a piece of Whisper White card stock cut in half for the card base, then scored down the middle (5 1/5 x 4 1/4).
I cut a piece of Joyous Noel Specialty Designer Series Paper to 5 1/2 x 4 1/4 for the matting and adhered it to the front of the card base using Multi Liquid Glue.
Next using the reverse side, I cut a small strip of Joyous Noel Specialty Designer Series Paper to 1 1/2 x 5 1/2 and adhered a piece of Merry Merlot & Copper Reversible Ribbon to the back using Mini Glue Dots and tied a knot "bow" to the front. Then adhered it to the front of the card using Liquid Glue.
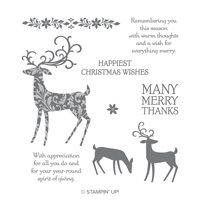
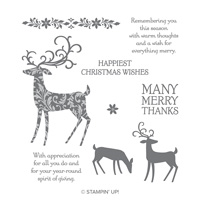
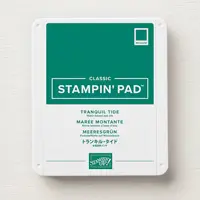
I stamped the deer using the Dashing Deer stamp set and Tranquil Tide Classic Ink pad. This stamp is amazing! What a sharp and crisp image.
The deer and corner dies in the Detailed Deer Thinlets are fun and you get two corner dies so you can cut two at a time. I used those to cut out the stamped deer and the corner pieces and flower using the Joyous Noel Glimmer paper.
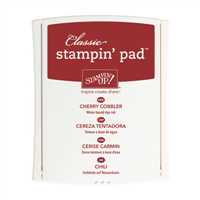
The tag was cut using a die from the Merry Christmas Thinlets Dies set (Page 5) and then stamped with a sentiment from the Dashing Deer stamp set and Classic Cherry Cobbler ink.
The deer and corner pieces where adhered using Liquid Glue and the sentiment was adhered using Stampin' Dimensionals.
Happy Stamping!
Laura Morris
Independent Stampin' Up! Demonstrator
www.borntoscrapbook.blogspot.com
Laura Morris
Independent Stampin' Up! Demonstrator
www.borntoscrapbook.blogspot.com







No comments:
Post a Comment