Showing posts with label tutorial. Show all posts

Saturday, March 02, 2019

Wonderful Moments Congratulations Card Tutorial

Happy Friday everyone! Today I am sharing a congratulations card that I created for our Son and Daughter-In-Law who are expecting their first child (our first Grandchild). We are so excited!

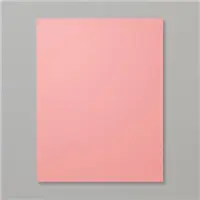
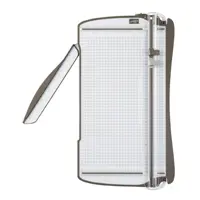
  1. Cut a piece of Flirty Flamingo cardstock to 5 1/2" x 4 1/4" for the card base and score it down the middle using the Stampin' Trimmer.
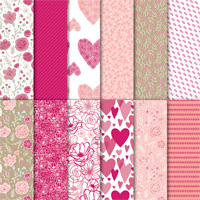
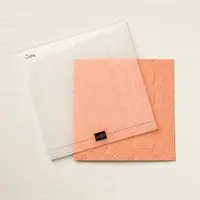
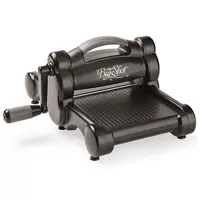
  2. Cut a piece of All My Love Designer Series Paper (Page 5 of the 2019 Occasions catalog) to 3 1/4" x 4" using the Stampin' Trimmer for part of the matting and a piece of Flirty Flamingo cardstock to 2" x 4" for the other part. Run the Flirty Flamingo cardstock piece through the Big Shot in the Lacy Dynamic Embossing Folder (Page 11 of the 2019 Occasions catalog)
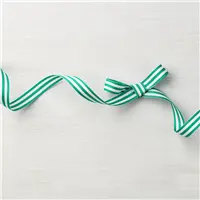
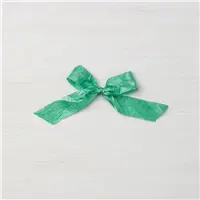
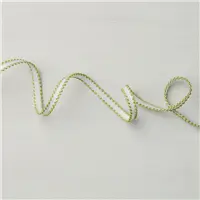
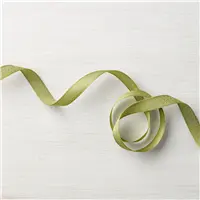
  3. Cut a piece of Flirty Flamingo Ribbon (Page 5 of the 2019 Occasions catalog) to approximately 5" long.
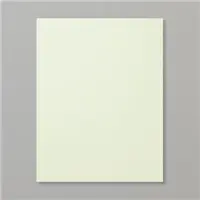
  4. Using one of the Rectangle Stitched Framelits (Page 28 of the 2019 Occasions catalog) cut a piece of Soft Sea Foam cardstock and a piece of Whisper White cardstock using the next smallest Rectangle Stitched Framelit.
  5. I used the image of the expecting lady and stamped it onto the piece of Whisper White cardstock in Memento ink.
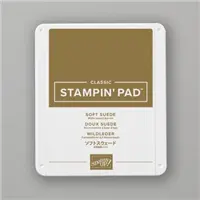
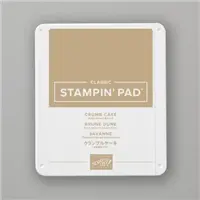
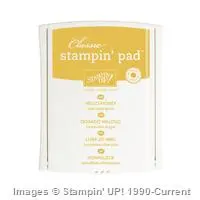
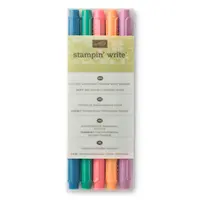
  6. I colored her hair using Crumb Cake, Golden Honey and Soft Suede ink and an Aqua Painter.
  7. Next I colored in the lady using my aqua painter brush and the Flirty Flamingo ink pad.
  8. For the flower/leaves I fussy cut them out from a scrap of All My Love Designer Series Paper (Page 5 of the 2019 Occasions catalog) and used Clear Wink of Stella to give them a little shimmer.
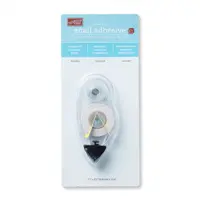
  9. Now it's time to assemble your card. Wrap the Flirty Flamingo Ribbon around the matting pieces, (you may run a small piece of Snail Adhesive to the back of the pieces to hold the ribbon in place).
  10. Adhere the layers to the card base using either Snail Adhesive or Multipurpose Liquid glue. I used Stampin' Dimensionals behind the Soft Sea foam and the flower/leaves pieces to give them dimension.
Below are the products that I used.  You may click on any photo to enlarge it and see the details.

Use Clear Wink of Stella to add some shimmer.


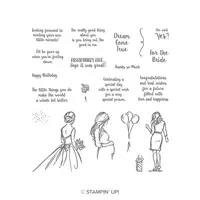
Inside I used one of the stamps from the Wonderful Moments stamp set.
Price: $110.00


Wow!! Get an extra FREE stamp set in the March Paper Pumpkin kit!!

Subscribe now to be sure to receive your March kit: https://bit.ly/2WWyoyE

OR
Try it for a month, buy your 1 month subscription here: https://bit.ly/2N1iCh7

Paper Pumpkin is the perfect way to jump into the world of paper crafting and get your creative “me-time” every month. Included are all the stamps, ink, and paper you need to create a fun project, without any stress. Everything is precut and ready to go so you can skip to the fun part of crafting! Subscribers always have cards and cute gifts on hand for every occasion. Your first kit includes a free clear stamping block. You’ll also build a collection of stamps and ink to use on other projects. There’s no pressure—you can cancel or suspend at any time. Subscribe by the 10th of the month to get started!

Click HERE to subscribe to Paper Pumpkin.

Don't forget to use this month's Hostess Code: ZQEZVB2N  to receive your FREE gift.

Click HERE for details on the Host Code.

Until next time, Happy Stampin!
  • Shop My Online Store HERE
  • My Blog: www.borntoscrapbook.blogspot.com
  • March Hostess Reward Code: ZQEZVB2N
  • Click HERE for Host Code details.
  • Check out the Clearance Rack to save up to 70%.
  • Save 10% on Coordinating Product Bundles
  • Click HERE to subscribe to Paper Pumpkin.
  • Click HERE to join my team.
Laura Morris
Independent Stampin' Up! Demonstrator
www.borntoscrapbook.blogspot.com

Thursday, October 04, 2018

Toil & Trouble Halloween Card Idea and Tutorial


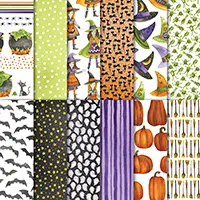
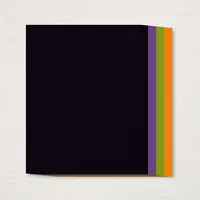
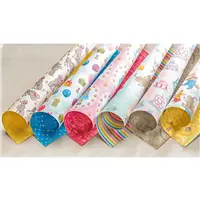
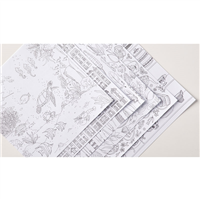
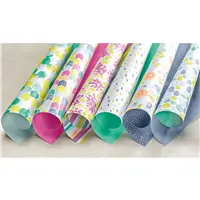
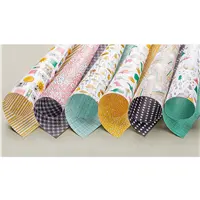
Aren't the papers in the Toil & Trouble Designer Series Paper cute and colorful! Here's a sample of a few of them.


Step-By-Step Tutorial:

Create a 4 1/4 x 5 1/2 card base using Stampin' Up! Whisper White card stock and the Stampin' Trimmer.

Cut out six (6) 1 5/8 x 1 5/8 squares. I used the Toil & Trouble Designer Series Paper on page 49 - Holiday Catalog.

Adhere the squares to a 5 3/8 x 3 1/2 piece of Pumpkin Pie card stock using Multipurpose Liquid Glue.

Adhere the Pumpkin Pie layer with the squares to a 5 7/8 x 3 3/4 piece of Basic Black card stock and adhere those layers to the top of your card base.


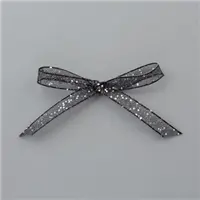
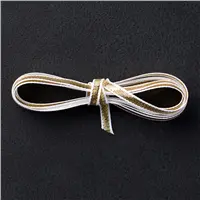
Cut a 16" piece of Black Glittered Organdy Ribbon, page 49 of the Holiday Catalog and wrap it around the top layer and tie a bow.

Now add any sentiment you wish.  I used a stamp from the September Paper Pumpkin kit and stamped "Frights & Delights" onto a piece of Whisper White card stock using Pumpkin Pie Classic ink. Then I adhered the sentiment to a piece of Basic Black card stock.

Don't forget to use this month's Hostess Code: 9DXAXMA7 to receive your FREE gift.

Laura Morris
Independent Stampin' Up! Demonstrator
www.borntoscrapbook.blogspot.com


Wednesday, October 03, 2018

What's a Stampin' Up! Stamparatus You Ask?


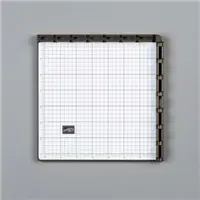
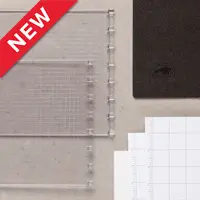
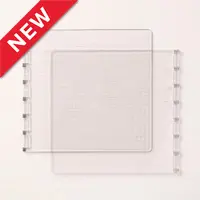
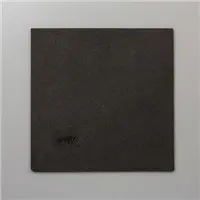
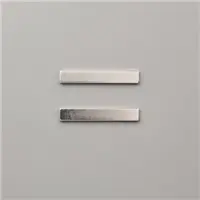
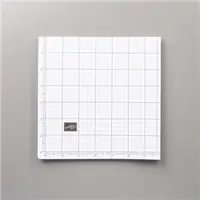
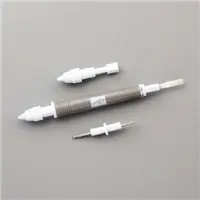
This is the Stamparatus positioning tool. Great for perfectly aligning stamp images, stamping multiples of the same project quickly and precisely and for getting complete ink coverage. It works well with clear-mount rubber stamps and photopolymer stamps. 
Supply List

Don't forget to use this month's Hostess Code: 9DXAXMA7 to receive your FREE gift.

Laura Morris

Independent Stampin' Up! Demonstrator
www.borntoscrapbook.blogspot.com

Friday, September 28, 2018

My Stampin' Up! Framelits Dies Storge Tutorial - DIY


Hello everyone and Happy Friday!

I was asked by a customer how I store my Stampin' Up! Framelits Dies and if I use magnet cards.  The answer is yes, I do use magnet cards. There are different options. I hear Stamp-n-Storage has nice ones and I believe in different sizes.  The 5" x 7" set comes with ten (10) magnet cards, two chipboard dividers and 15 self-adhesive labels for $22.75. 

I make my own using magnetic vent covers from Home Depot. The package comes with three (3) 8" x 15" long magnetic strips.  You may cut them any size as you see fit. I cut each strip into three (3) 5" x 6 1/8" (as shown above). So a total of nine (9) for $4.98.

Magnetic Vent Covers


Magnetic Sheet


After I cut the magnetic strips and put the Framelits Dies on them, I store them back into the plastic envelope that they came in however I put the paper with the information about the dies behind the dies so you can easily see them.  I used my label maker to create labels for each one. I keep a small plastic "crate" on my desk to keep the stamp sets and framelit dies close at hand while I am using them.
Hope this information is useful.

Happy Stamping!


Don't forget to use this month's Hostess Code: EK69CKQD to receive your FREE gift.

Click HERE  for details on the Host Code

Laura Morris
Independent Stampin' Up! Demonstrator
www.borntoscrapbook.blogspot.com

Monday, September 24, 2018

Sincerely Santa Project Kit - DIY ChristmasTags

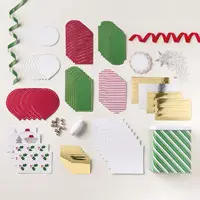
Yesterday it  was a rainy day here where we live in south Florida so I decided to take out the Sincerely Santa Project Kit  (page 32 Holiday Catalog) and get a head start on creating my Christmas tags. Here's how they came out.  So pretty.

Each kit included:
  • 30 printed tags 4" x 2" and 3 9/16" x 3 1/4"
  • Cardstock, gold foil, and silver foil die-cut elements
  • Garden Green 3/8" ribbon
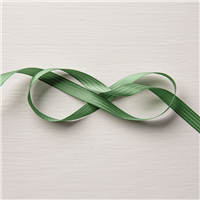
  • Real Red 3/8" ribbon
  • White Baker's Twine
  • Mini jingle bells
  • Printed candy-striped tin
  • Printed instruction guide

Here's the complete kit. It even comes with a nice tin to store your tags in.

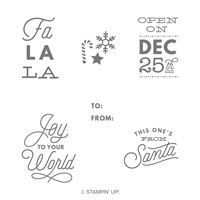
All you need to complete the kit is the Sincerely Santa stamp set (page 32 Holiday Catalog),
Garden Green #147089, Cherry Cobbler #147083 and your adhesive.

First I took out all of the tags and stamped them by color.
I then collected all the supplies for each tag design (five total) and placed them into separate piles.

I also stamped To: and From: on the back of each tag.


Sale: $5.40
Price: $9.00
Sale: $3.40
Price: $8.50
Sale: $1.20
Price: $3.00
Sale: $3.20
Price: $8.00
Sale: $10.80
Price: $18.00
Sale: $18.60
Price: $31.00
Sale: $10.80
Price: $18.00
Sale: $15.00
Price: $25.00
Sale: $2.80
Price: $7.00
Sale: $2.40
Price: $6.00
Sale: $3.50
Price: $7.50
Sale: $2.00
Price: $5.00
Sale: $2.80
Price: $7.00
Sale: $2.00
Price: $5.00
Sale: $1.60
Price: $4.00
Sale: $12.00
Price: $20.00
Sale: $2.40
Price: $6.00
Sale: $10.80
Price: $18.00
Sale: $22.80
Price: $38.00
Sale: $16.20
Price: $27.00
Sale: $2.00
Price: $5.00
Sale: $2.40
Price: $6.00
Sale: $3.00
Price: $7.50
Sale: $24.00
Price: $40.00
Sale: $1.20
Price: $3.00
Sale: $1.20
Price: $3.00
Sale: $18.00
Price: $30.00
Sale: $1.60
Price: $4.00
Sale: $3.60
Price: $9.00


Don't forget to use this month's Hostess Code: EK69CKQD to receive your FREE gift.

Click HERE  for details on the Host Code.

Laura Morris

Independent Stampin' Up! Demonstrator
www.borntoscrapbook.blogspot.com