Showing posts with label card making. Show all posts

Sunday, March 03, 2019

Sale-A-Bration Coordination Is Here!

Purchase Dies To Match Your Sale-A-Bration Products
Now through March 31st, 2019

Here are some samples created using the Sale-A-Bration and Sale-A-Bration Coordination products together.


For details on Sale-A-Bration Coordination products click HERE.


Wow!! Get an extra FREE stamp set in the March Paper Pumpkin kit!!

Subscribe now to be sure to receive your March kit: https://bit.ly/2WWyoyE

OR
Try it for a month, buy your 1 month subscription here: https://bit.ly/2N1iCh7

Paper Pumpkin is the perfect way to jump into the world of paper crafting and get your creative “me-time” every month. Included are all the stamps, ink, and paper you need to create a fun project, without any stress. Everything is precut and ready to go so you can skip to the fun part of crafting! Subscribers always have cards and cute gifts on hand for every occasion. Your first kit includes a free clear stamping block. You’ll also build a collection of stamps and ink to use on other projects. There’s no pressure—you can cancel or suspend at any time. Subscribe by the 10th of the month to get started!

Click HERE to subscribe to Paper Pumpkin.

Don't forget to use this month's Hostess Code: ZQEZVB2N  to receive your FREE gift.

Click HERE for details on the Host Code.

Until next time, Happy Stampin!
  • Shop My Online Store HERE
  • My Blog: www.borntoscrapbook.blogspot.com
  • March Hostess Reward Code: ZQEZVB2N
  • Click HERE for Host Code details.
  • Check out the Clearance Rack to save up to 70%.
  • Save 10% on Coordinating Product Bundles
  • Click HERE to subscribe to Paper Pumpkin.
  • Click HERE to join my team.
Laura Morris
Independent Stampin' Up! Demonstrator
www.borntoscrapbook.blogspot.com

Saturday, March 02, 2019

Wonderful Moments Congratulations Card Tutorial

Happy Friday everyone! Today I am sharing a congratulations card that I created for our Son and Daughter-In-Law who are expecting their first child (our first Grandchild). We are so excited!

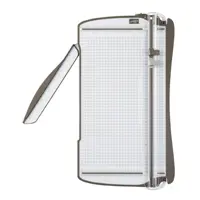
  1. Cut a piece of Flirty Flamingo cardstock to 5 1/2" x 4 1/4" for the card base and score it down the middle using the Stampin' Trimmer.
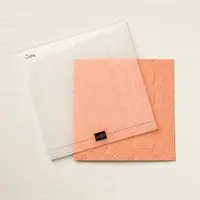
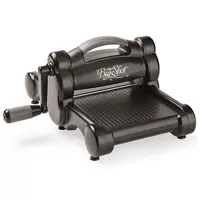
  2. Cut a piece of All My Love Designer Series Paper (Page 5 of the 2019 Occasions catalog) to 3 1/4" x 4" using the Stampin' Trimmer for part of the matting and a piece of Flirty Flamingo cardstock to 2" x 4" for the other part. Run the Flirty Flamingo cardstock piece through the Big Shot in the Lacy Dynamic Embossing Folder (Page 11 of the 2019 Occasions catalog)
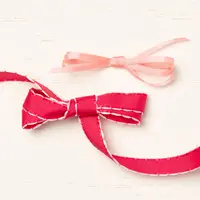
  3. Cut a piece of Flirty Flamingo Ribbon (Page 5 of the 2019 Occasions catalog) to approximately 5" long.
  4. Using one of the Rectangle Stitched Framelits (Page 28 of the 2019 Occasions catalog) cut a piece of Soft Sea Foam cardstock and a piece of Whisper White cardstock using the next smallest Rectangle Stitched Framelit.
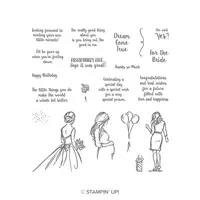
  5. I used the image of the expecting lady and stamped it onto the piece of Whisper White cardstock in Memento ink.
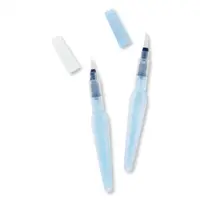
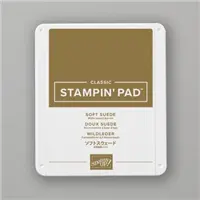
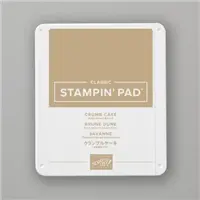
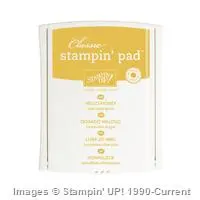
  6. I colored her hair using Crumb Cake, Golden Honey and Soft Suede ink and an Aqua Painter.
  7. Next I colored in the lady using my aqua painter brush and the Flirty Flamingo ink pad.
  8. For the flower/leaves I fussy cut them out from a scrap of All My Love Designer Series Paper (Page 5 of the 2019 Occasions catalog) and used Clear Wink of Stella to give them a little shimmer.
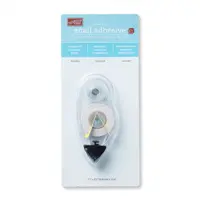
  9. Now it's time to assemble your card. Wrap the Flirty Flamingo Ribbon around the matting pieces, (you may run a small piece of Snail Adhesive to the back of the pieces to hold the ribbon in place).
  10. Adhere the layers to the card base using either Snail Adhesive or Multipurpose Liquid glue. I used Stampin' Dimensionals behind the Soft Sea foam and the flower/leaves pieces to give them dimension.
Below are the products that I used.  You may click on any photo to enlarge it and see the details.

Use Clear Wink of Stella to add some shimmer.


Inside I used one of the stamps from the Wonderful Moments stamp set.
Price: $110.00


Wow!! Get an extra FREE stamp set in the March Paper Pumpkin kit!!

Subscribe now to be sure to receive your March kit: https://bit.ly/2WWyoyE

OR
Try it for a month, buy your 1 month subscription here: https://bit.ly/2N1iCh7

Paper Pumpkin is the perfect way to jump into the world of paper crafting and get your creative “me-time” every month. Included are all the stamps, ink, and paper you need to create a fun project, without any stress. Everything is precut and ready to go so you can skip to the fun part of crafting! Subscribers always have cards and cute gifts on hand for every occasion. Your first kit includes a free clear stamping block. You’ll also build a collection of stamps and ink to use on other projects. There’s no pressure—you can cancel or suspend at any time. Subscribe by the 10th of the month to get started!

Click HERE to subscribe to Paper Pumpkin.

Don't forget to use this month's Hostess Code: ZQEZVB2N  to receive your FREE gift.

Click HERE for details on the Host Code.

Until next time, Happy Stampin!
  • Shop My Online Store HERE
  • My Blog: www.borntoscrapbook.blogspot.com
  • March Hostess Reward Code: ZQEZVB2N
  • Click HERE for Host Code details.
  • Check out the Clearance Rack to save up to 70%.
  • Save 10% on Coordinating Product Bundles
  • Click HERE to subscribe to Paper Pumpkin.
  • Click HERE to join my team.
Laura Morris
Independent Stampin' Up! Demonstrator
www.borntoscrapbook.blogspot.com

Wednesday, February 20, 2019

Paper Pumpkin February 2019 Grown With Kindness Card Tutorial

Hi everyone!
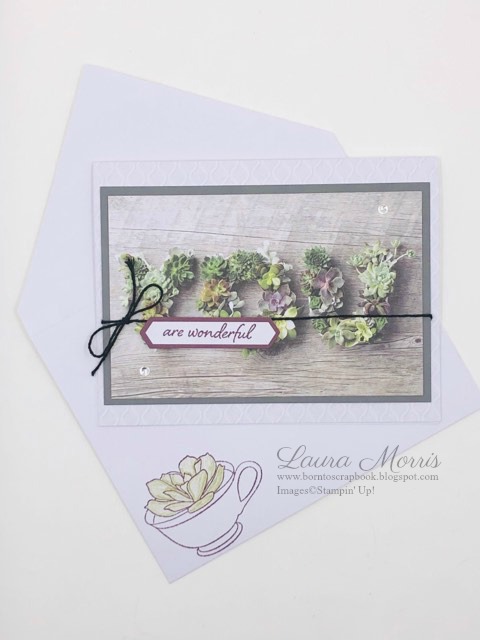
As promised, here are one of each of the three designs in the February 2019 Paper Pumpkin kit called "Grown With Kindness" that I created. These succulent plant cards are just darling!


Everything you need is included in the kit to complete your cards, even the adhesive. 


  • Stamp your sentiments on the tags and background pieces.
  •  Layer panels on cards using adhesive dots.
  • Layer tag labels using adhesive dots.
  • Tie and/or adhere baker's twine to tags and backgrounds. 
  • Adhere labels to card bases using dimensionals.
  • Adhere enamel dots.

So quick and easy.  Whether you are an experienced stamper whose's short on time or a beginner stamper, the Paper Pumpkin kits are perfect for everyone no matter what level you are at.

Wow!! Get an extra FREE stamp set in the March Paper Pumpkin kit!!

Subscribe now to be sure to receive your March kit: https://bit.ly/2WWyoyE

OR
Try it for a month, buy your 1 month subscription here: https://bit.ly/2N1iCh7

Paper Pumpkin is the perfect way to jump into the world of paper crafting and get your creative “me-time” every month. Included are all the stamps, ink, and paper you need to create a fun project, without any stress. Everything is precut and ready to go so you can skip to the fun part of crafting! Subscribers always have cards and cute gifts on hand for every occasion. Your first kit includes a free clear stamping block. You’ll also build a collection of stamps and ink to use on other projects. There’s no pressure—you can cancel or suspend at any time. Subscribe by the 10th of the month to get started!

Click HERE to subscribe to Paper Pumpkin.

Don't forget to use this month's Hostess Code: RJFDFVEW to receive your FREE gift.

Click HERE for details on the Host Code.

Until next time, Happy Stampin!
  • Shop My Online Store HERE
  • My Blog: www.borntoscrapbook.blogspot.com
  • February Hostess Reward Code: RJFDFVEW
  • Click HERE for Host Code details.
  • Check out the Clearance Rack to save up to 70%.
  • Save 10% on Coordinating Product Bundles
  • Click HERE to subscribe to Paper Pumpkin.
  • Click HERE to join my team.
Laura Morris
Independent Stampin' Up! Demonstrator
www.borntoscrapbook.blogspot.com

Wednesday, January 09, 2019

Super Simple Butterfly Gala Card Tutorial

Above is another card I created for my customer thank you notes and is super simple and quick to make. With just a few products and your basic supplies you will be creating in no time. 

For this card I used:
  • Card base - 8 1/2" x 5 1/2" piece of Whisper White cardstock #100730).
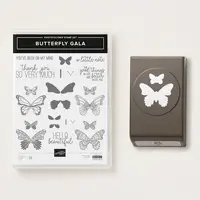
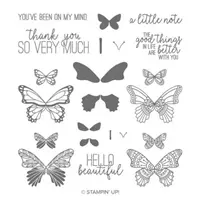
  • Butterfly Gala stamp set (page 35 - Occasions catalog #148580).
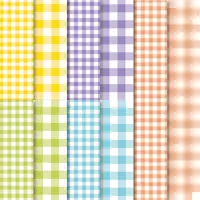
  • A piece of Gingham Gala designer series paper for matting behind the sentiment (page 35 - Occasions catalog #148554).
  • Whisper White cardstock for the sentiment #100730
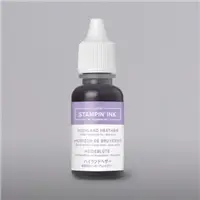
  • Highland Heather  Classic Stamp Pad #147103
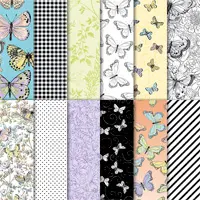
  • Botanical Butterfly Designer Series Paper #149622


Again, to pretty up my cardstock I randomly stamped butterfly images all over the front of my card base. Here I used Highland Heather Classic ink.


Next I stamped the sentiment from the Butterfly Gale stamp set in Highland Heather Classic ink #147103 onto Whisper White cardstock and glued the sentiment to the Gingham designer series paper. Then popped it up with few Stampin' Dimensionals #104430.

Lastly, I fussy cut a butterfly from the Botanical Butterfly Designer Series Paper #149622 (page 9 in the Sale-A-Bration brochure). This beautiful paper pack is one of the free items you receive for spending $50. There is no limit. For every $50 you spend, choose another FREE product!


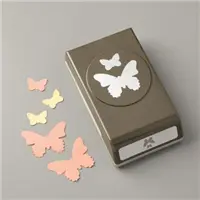
All the products that I used are listed below. You may click on any of the images for more details.


  • Shop My Online Store HERE
  • My Blog: www.borntoscrapbook.blogspot.com
  • January Hostess Reward Code: YNKUUA2X
  • Check out the Clearance Rack to save up to 70%.
  • Save 10% on Coordinating Product Bundles
  • Click HERE to subscribe to Paper Pumpkin.
  • Click HERE to join my team.
Laura Morris
Independent Stampin' Up! Demonstrator
www.borntoscrapbook.blogspot.com