Showing posts with label Stampin Up. Show all posts

Tuesday, June 18, 2019

It's Here! Paper Pumpkin June 2019


It's Here! The June 2019 Paper Pumpkin kit!
Check out the Stampin' Up June 2019 Paper Pumpkin Video reveal!
I can't wait to get started on my kit!

What is Paper Pumpkin?
All of the work is done for you so you can skip to the fun! Paper Pumpkin is a fully designed project kit that arrives at your door each month with stamps, ink and paper.  Everything is cut and ready to go, so you can skip to the fun. The kits will surprise you with fun projects like cards, gift packaging, home decor, and more for just $22.00 per month (shipping included).
There are two types of subscriptions to choose from:

Month-to-month subscriptions make it easy to sign up for Paper Pumpkin and get started. Sign up before the 10th of any month, and your kit will ship around the 15th of each month. Suspend (for a month) or cancel at any time. You will be billed when your kit ships.

Prepaid subscriptions allow you to pay ahead for 1, 3, 6, or 12 months, and they come with a few perks!


Until next time, Happy Stampin!

Laura Morris
Independent Stampin' Up! Demonstrator
www.borntoscrapbook.blogspot.com

Tuesday, April 02, 2019

April Host Code


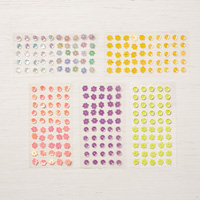
April's giveaway is a package of the Iridescent Sequins Assortment with host reward code.
Earn the Iridescent Sequin Assortment for qualifying orders of $50 or more (before shipping and tax) placed through me using my exclusive host code 2E7KV2TT  for April. The Iridescent Sequins Assortment will arrive from me in mid-May separate from your order.

HOW TO EARN MY FREE BONUS GIFT THIS MONTH:


$50-149.99 ORDER: ADD HOST CODE, 2E7KV2TT for orders of $50 or more and under $150 (before tax and shipping). To claim your bonus gift from me, you MUST include this host code.

$150+ ORDER: PLEASE DO NOT ADD THE HOST CODE. You will automatically qualify for the free bonus gift from me, as well as earn Stampin' Rewards.


Don't forget to use this month's Hostess Code: 2E7KV2TT to receive your FREE gift.

Until next time, Happy Stampin!
  • Shop My Online Store HERE
  • My Blog: www.borntoscrapbook.blogspot.com
  • April Hostess Reward Code: 2E7KV2TT 
  • Check out the Clearance Rack to save up to 70%.
  • Save 10% on Coordinating Product Bundles
  • Click HERE to subscribe to Paper Pumpkin.
  • Click HERE to join my team.
Laura Morris
Independent Stampin' Up! Demonstrator
www.borntoscrapbook.blogspot.com

Tuesday, March 26, 2019

NEW Storage Solutions from Stampin' Up! and Last Week of Sale-A-Bration!


NEW Storage Solutions 
from Stampin' Up!


Whether you have an entire room or a small corner in your home for stamping, your creative space should be tailored to you. Our new product line, Storage by Stampin’ Up!, provides you with modular storage solutions that let you organize and customize your space your way! Check out the fun video below!


Available April 1st!

Last Chance for Sale-a-Bration!


Just a few more days and Sale-A-Bration will be over. Update your old ink pads for the new ones just in time for the arrival of the new Storage Solutions! Hurry and take advantage of all of the FREE products Sale-A-Bration has to offer! The more you purchase, the more you earn. Learn more HERE.


Click HERE for details on the Host Code.

Until next time, Happy Stampin!
  • Shop My Online Store HERE
  • My Blog: www.borntoscrapbook.blogspot.com
  • March Hostess Reward Code: ZQEZVB2N
  • Click HERE for Host Code details.
  • Check out the Clearance Rack to save up to 70%.
  • Save 10% on Coordinating Product Bundles
  • Click HERE to subscribe to Paper Pumpkin.
  • Click HERE to join my team.
Laura Morris
Independent Stampin' Up! Demonstrator

www.borntoscrapbook.blogspot.com

Sunday, January 27, 2019

Wishing You Well Card Tutorial


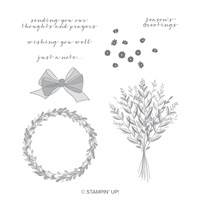
Well...you know what they say, troubles happen in threes. That was definitely the case this week. Two people ended up in the hospital and one person is under the weather. Here's a card that I made for one of the people that ended up in the hospital. I was inspired by a card created by another demonstrator, Mary Fish, and changed mine up just a bit.
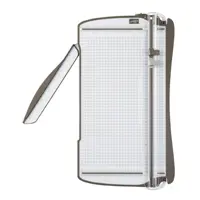
  1. Cut a piece of Whisper White cardstock to 5 1/2" x 4 1/4" for the card base and score it down the middle using the Stampin' Trimmer.
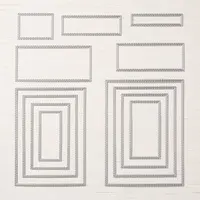
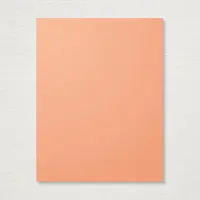
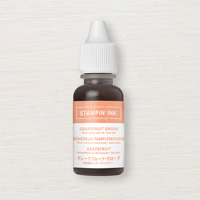
  2. With the NEW Rectangle Stitched Framlits Dies (Love love this set!), cut out a piece of Grapefruit Grove cardstock using the largest rectangle and use the next size down to cut out a piece of Whisper White cardstock.
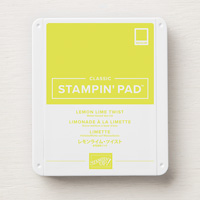
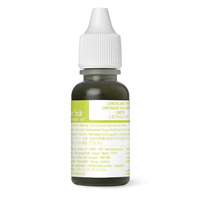
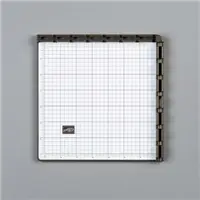
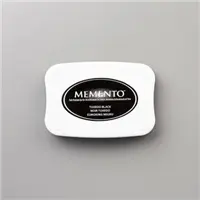
  3. Using the Stamparatus stamp positioning tool, stamp the bouquet image in Lemon Lime Twist ink and the flowers in Grapefruit Grove ink onto the Whisper White cardstock. The Stamparatus is great for perfect placement. Next stamp the "Wishing You Well" sentiment in Tuxedo Black Memento ink underneath. 
  4. Adhere the layers to the card base using either Snail or Liquid adhesive.
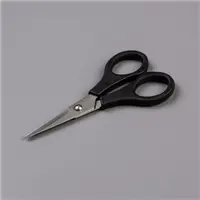
  5. Stamp the bow in Grapefruit Grove ink onto a scrap of Whisper White cardstock and snip it out with the Paper Snips. Adhere the bow as shown with a Mini Stampin' Dimensionals.
  6. Easily adhere a Grapefruit Grove Gingham Gala Adhesive-Backed Sequin to the center of the bow.

Above is a great video introducing you to the Stamparatus.


  • Shop My Online Store HERE
  • My Blog: www.borntoscrapbook.blogspot.com
  • January Hostess Reward Code: YNKUUA2X
  • Check out the Clearance Rack to save up to 70%.
  • Save 10% on Coordinating Product Bundles
  • Click HERE to subscribe to Paper Pumpkin.
  • Click HERE to join my team.
Laura Morris
Independent Stampin' Up! Demonstrator
www.borntoscrapbook.blogspot.com

Thursday, January 17, 2019

Stampin' Up! Paper Pumpkin January 2019 - Be Mine Valentine Video


It's here! Today the January 2019 Paper Pumpkin kit arrived in my mailbox. Every year my husband and I host a Valentine's Brunch for our family and friends. These adorable pillow boxes will be perfect treat gifts. Check out my sneak peek video below.  Sorry it recorded sideways. 


Paper Pumpkin is the perfect way to jump into the world of paper crafting and get your creative “me-time” every month. Included are all the stamps, ink, and paper you need to create a fun project, without any stress. Everything is precut and ready to go so you can skip to the fun part of crafting! Subscribers always have cards and cute gifts on hand for every occasion. Your first kit includes a free clear stamping block. You’ll also build a collection of stamps and ink to use on other projects. There’s no pressure—you can cancel or suspend at any time. Subscribe by the 10th of the month to get started!

Keep and eye out for a future post by me with photos of the finished pillow boxes.

Click HERE  for Paper Pumpkin subscription details.
  • Shop My Online Store HERE
  • My Blog: www.borntoscrapbook.blogspot.com
  • January Hostess Reward Code: YNKUUA2X
  • Check out the Clearance Rack to save up to 70%.
  • Save 10% on Coordinating Product Bundles
  • Check out all the New Cling Stamps HERE
  • Click HERE to subscribe to Paper Pumpkin.
  • Click HERE to join my team.
Laura Morris
Independent Stampin' Up! Demonstrator
www.borntoscrapbook.blogspot.com

Wednesday, January 09, 2019

Super Simple Butterfly Gala Card Tutorial

Above is another card I created for my customer thank you notes and is super simple and quick to make. With just a few products and your basic supplies you will be creating in no time. 

For this card I used:
  • Card base - 8 1/2" x 5 1/2" piece of Whisper White cardstock #100730).
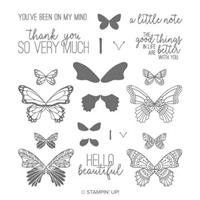
  • Butterfly Gala stamp set (page 35 - Occasions catalog #148580).
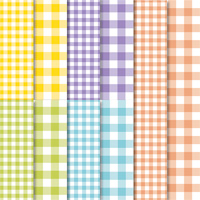
  • A piece of Gingham Gala designer series paper for matting behind the sentiment (page 35 - Occasions catalog #148554).
  • Whisper White cardstock for the sentiment #100730
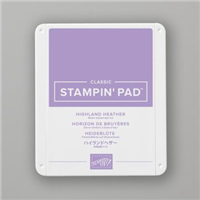
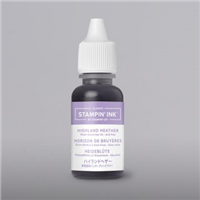
  • Highland Heather  Classic Stamp Pad #147103
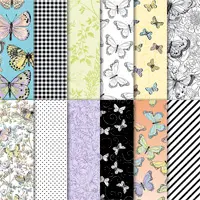
  • Botanical Butterfly Designer Series Paper #149622


Again, to pretty up my cardstock I randomly stamped butterfly images all over the front of my card base. Here I used Highland Heather Classic ink.


Next I stamped the sentiment from the Butterfly Gale stamp set in Highland Heather Classic ink #147103 onto Whisper White cardstock and glued the sentiment to the Gingham designer series paper. Then popped it up with few Stampin' Dimensionals #104430.

Lastly, I fussy cut a butterfly from the Botanical Butterfly Designer Series Paper #149622 (page 9 in the Sale-A-Bration brochure). This beautiful paper pack is one of the free items you receive for spending $50. There is no limit. For every $50 you spend, choose another FREE product!


All the products that I used are listed below. You may click on any of the images for more details.


  • Shop My Online Store HERE
  • My Blog: www.borntoscrapbook.blogspot.com
  • January Hostess Reward Code: YNKUUA2X
  • Check out the Clearance Rack to save up to 70%.
  • Save 10% on Coordinating Product Bundles
  • Click HERE to subscribe to Paper Pumpkin.
  • Click HERE to join my team.
Laura Morris
Independent Stampin' Up! Demonstrator
www.borntoscrapbook.blogspot.com

Tuesday, January 08, 2019

Simple Butterfly Gala Card Tutorial


Gingham Gala Suite
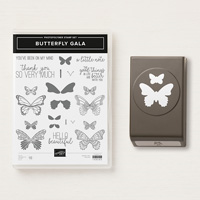
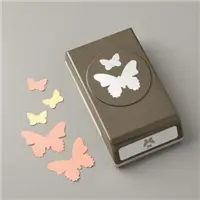
Spring will be here before you know it and the Butterfly Gala Stamp Set and Butterfly Duet Punch bundle is the perfect pairing to create your spring and summer cards. Here are some sample cards using some of the items on page 34-35 of the 2019 Occasions Catalog.


I am making thank you cards for my customers and am having so much fun using the Butterfly Gala stamp set and Butterfly Duet Punch (page 35 of the 2019 Occasions catalog.


For this card I used:

  • Card base - 8 1/2" x 5 1/2" piece of Grapefruit Grove cardstock from the Gingham Gala cardstock pack (page 35 - Occasions catalog #148555).
  • Butterfly Gala stamp set and Butterfly Duet Punch bundle (page 35 - Occasions catalog #150599).
  • A piece of Gingham Gala designer series paper for matting behind the sentiment (page 35 - Occasions catalog #148554).
  • Whisper White cardstock for the sentiment #100730
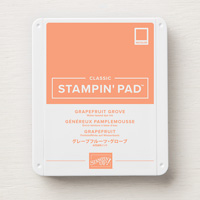
  • Grapefruit Grove Classic Stamp Pad #147142
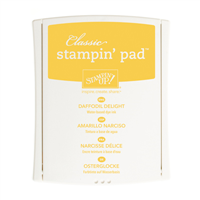
  • Daffodil Delight Classic Stamp Pad #126944
  • Lemon Lime Twist Classic Stamp Pad #147145


Pretty up your cardstock by randomly stamping butterfly images all over the front of your card base. Here I used Grapefruit Grove.


Next I stamped butterfly images using the Butterfly Gala Stamp set and the stamp pad colors listed above. Then I punched them out using the Butterfly Duet punch. Both are part of the bundle on page 35 - #150599.


Next I stamped the sentiment from the Butterfly Gale stampset in Highland Heather Classic ink #147103.

I adhered the butterflies to the card base using Multipurpose Liquid Glue #110755. Once the glue dried, I lifted up the wings a bit. I also glued the sentiment to the Gingham designer series paper and then popped it up with few Stampin' Dimensionals #104430.


All the products that I used are listed below. You may click on any of the images for more details.
Price: $10.00

  • Shop My Online Store HERE
  • My Blog: www.borntoscrapbook.blogspot.com
  • January Hostess Reward Code: YNKUUA2X
  • Check out the Clearance Rack to save up to 70%.
  • Save 10% on Coordinating Product Bundles
  • Click HERE to subscribe to Paper Pumpkin.
  • Click HERE to join my team.
Laura Morris
Independent Stampin' Up! Demonstrator
www.borntoscrapbook.blogspot.com