Showing posts with label rectangle stitched dies. Show all posts

Tuesday, February 05, 2019

Butterfly Gala Thank You Card Tutorial


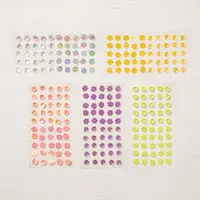
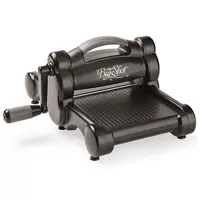
We always need Thank You cards don't we! I created this card using products from the Gingham Gala Suite on page 35 of the Occasions Catalog. Below are some of the ingredients.


Instructions:
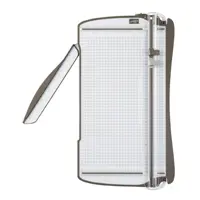
  1. Cut a piece of Whisper White cardstock to 5 1/2" x 4 1/4" for the card base and score it down the middle using the Stampin' Trimmer.
  2. With the NEW Rectangle Stitched Framlits Dies (Love love this set!), cut out a piece of  Gingham Gala cardstock (Grapefruit Grove) using the largest rectangle die.
  3. Cut a piece of Botanical Butterfly Designer Series Paper (page 9 of the Sale-A-Bration catalog, FREE during Sale-A-Bration with $50 order) 1/4" smaller than the rectangle die using the Stampin' Trimmer.   
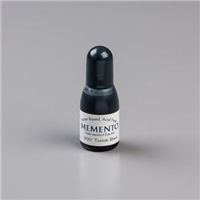
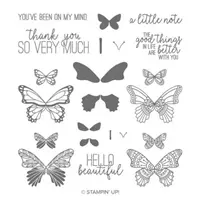
  4. Stamp your sentiment from the Butterfly Gala stamp set onto a scrap of Grapefruit Grove cardstock using Memento Tuxedo Black ink and cut it out using the smallest Rectangle Stitched Framlit Die.
  5. Cut out a piece of Highland Heather ribbon from the Organdy Ribbon Combo pack, page 7 of the Sale-A-Bration catalog (Also FREE with $50 order during Sale-A-Bration) long enough to adhere it to the top of the Botanical Butterfly piece and leaving approximately 1/2" on each side to wrap behind and adhere the ends to the back.
  6. Adhere the layers to the card base using either Snail Adhesive or Multipurpose Liquid glue. I used Stampin' Dimensionals to pop up the sentiment and backing to give it dimension.
  7. Lastly, add a couple Gingham Gala Adhesive-Backed Sequins to the sentiment for a little extra "bling".
Below are the products that I used.  You may click on any photo to enlarge it and see the details.


Don't forget to use this month's Hostess Code: RJFDFVEW to receive your FREE gift.
Click HERE for details on the Host Code.

Until next time, Happy Stampin!
  • Shop My Online Store HERE
  • My Blog: www.borntoscrapbook.blogspot.com
  • February Hostess Reward Code: RJFDFVEW
  • Click HERE for Host Code details.
  • Check out the Clearance Rack to save up to 70%.
  • Save 10% on Coordinating Product Bundles
  • Click HERE to subscribe to Paper Pumpkin.
  • Click HERE to join my team.
Laura Morris
Independent Stampin' Up! Demonstrator
www.borntoscrapbook.blogspot.com

Monday, February 04, 2019

Well Said Retirement Card Tutorial

The other day my Mom asked me if I had a retirement card so off I went and quickly made the card above. It's super simple and quick to make. 
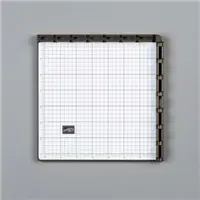
  1. Cut a piece of Whisper White cardstock to 5 1/2" x 4 1/4" for the card base and score it down the middle using the Stampin' Trimmer.
  2. Cut a piece of Best Route Designer Series Paper to 5 1/4" x 4" using the Stampin' Trimmer for the matting and adhere it to the card base using either Snail Adhesive or Multipurpose liquid glue.
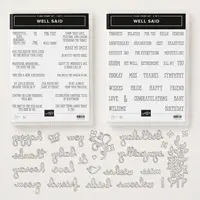
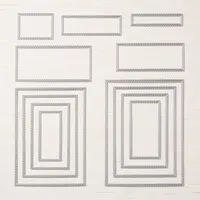
  3. With the NEW Rectangle Stitched Framlits Dies (Love love this set!), cut out a piece of Best Route Designer Series Paper using the third rectangle in from the outside and use the smallest rectangle (the one by its self) to cut out a piece of Whisper White cardstock.
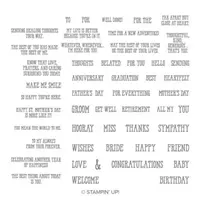
  4. Stamp your sentiment from the Well Said stamp set onto the Whisper White cardstock and adhere it to a small  piece of Best Route Designer Series Paper. 
  5. Adhere the layers to the card base using either Snail Adhesive or Multipurpose Liquid glue. I used Stampin' Dimensionals to pop up the sentiment and backing to give it dimension.
Below are the products that I used.  You may click on any photo to enlarge it and see the details.

Don't forget to use this month's Hostess Code: RJFDFVEW to receive your FREE gift.

Click HERE for details on the Host Code.

Until next time, Happy Stampin!
  • Shop My Online Store HERE
  • My Blog: www.borntoscrapbook.blogspot.com
  • February Hostess Reward Code: RJFDFVEW
  • Click HERE for Host Code details.
  • Check out the Clearance Rack to save up to 70%.
  • Save 10% on Coordinating Product Bundles
  • Click HERE to subscribe to Paper Pumpkin.
  • Click HERE to join my team.
Laura Morris
Independent Stampin' Up! Demonstrator
www.borntoscrapbook.blogspot.com

Sunday, January 27, 2019

Wishing You Well Card Tutorial


Well...you know what they say, troubles happen in threes. That was definitely the case this week. Two people ended up in the hospital and one person is under the weather. Here's a card that I made for one of the people that ended up in the hospital. I was inspired by a card created by another demonstrator, Mary Fish, and changed mine up just a bit.
  1. Cut a piece of Whisper White cardstock to 5 1/2" x 4 1/4" for the card base and score it down the middle using the Stampin' Trimmer.
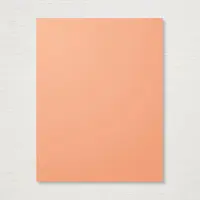
  2. With the NEW Rectangle Stitched Framlits Dies (Love love this set!), cut out a piece of Grapefruit Grove cardstock using the largest rectangle and use the next size down to cut out a piece of Whisper White cardstock.
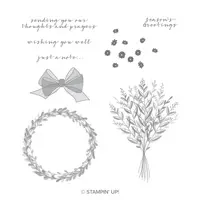
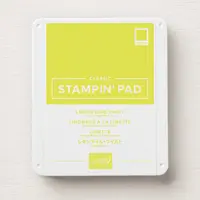
  3. Using the Stamparatus stamp positioning tool, stamp the bouquet image in Lemon Lime Twist ink and the flowers in Grapefruit Grove ink onto the Whisper White cardstock. The Stamparatus is great for perfect placement. Next stamp the "Wishing You Well" sentiment in Tuxedo Black Memento ink underneath. 
  4. Adhere the layers to the card base using either Snail or Liquid adhesive.
  5. Stamp the bow in Grapefruit Grove ink onto a scrap of Whisper White cardstock and snip it out with the Paper Snips. Adhere the bow as shown with a Mini Stampin' Dimensionals.
  6. Easily adhere a Grapefruit Grove Gingham Gala Adhesive-Backed Sequin to the center of the bow.

Above is a great video introducing you to the Stamparatus.


  • Shop My Online Store HERE
  • My Blog: www.borntoscrapbook.blogspot.com
  • January Hostess Reward Code: YNKUUA2X
  • Check out the Clearance Rack to save up to 70%.
  • Save 10% on Coordinating Product Bundles
  • Click HERE to subscribe to Paper Pumpkin.
  • Click HERE to join my team.
Laura Morris
Independent Stampin' Up! Demonstrator
www.borntoscrapbook.blogspot.com